How to set the clock on your Samsung range

How to set the clock on your Samsung range
Set the clock on your range (most models)
The following instructions will apply to most Samsung ranges, although the exact steps may vary depending on your model. Please see your user manual for specific instructions if needed.
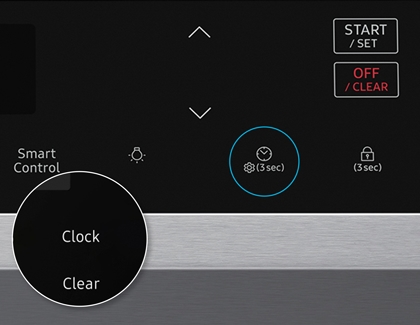
- Press Clock on the oven's control panel. Some models show an icon of a clock, and some models have the word "Clock" instead. (Sometimes this button has a secondary function that opens the Settings menu if you hold it for 3 seconds, so do not press it for too long.)

- On some models, you will need to press Clock again to choose between AM or PM.
Note: Skip this step if the option is not available or if your oven's clock is set to use a 24 hour display. - Enter the time in hours and minutes using either the number pads or the directional buttons, depending on your model. For example, if you're using the number pad, you would press 1, 3, and 0 for 1:30.
- Press Clock or START/SET to confirm.
Note: If you accidentally entered the wrong time, press Clear to start over. - The display will show the time.
Set the clock on Smart dial ranges
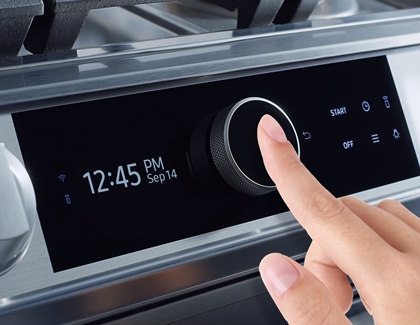
Smart dial models include a Sleep mode, which will activate after two minutes of inactivity on the control panel. During Sleep mode, the control panel will only display the time. You will need to push or turn the dial knob to wake up the control panel. Keep this in mind when setting the clock on your oven.

- Tap Menu (the three horizontal lines) on the oven's control panel.
- Using the dial knob, select Set time.
- Using the dial knob, enter the time.
- Push the dial knob to confirm.
With a smart dial model, it's easy to switch the oven's time between regular time and military time. Tap Menu (the three horizontal lines) on the oven's control panel, and then select Time format using the dial knob. Turn the dial to select 12hr or 24hr, and then push the dial knob to save the changes.
Set the clock on a built-in wall oven
Set the clock automatically

Make sure your oven’s Wi-Fi connection is turned on.
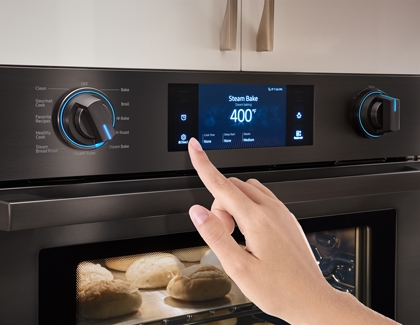
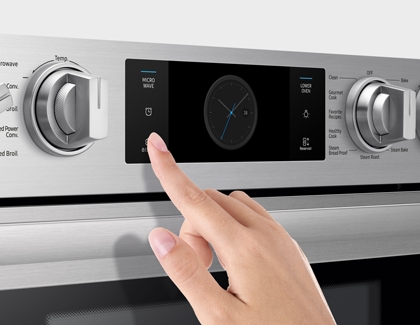
Tap Settings on the touch screen, and then tap Date & Time.
On the right side of the screen, tap ON. The date and time will be set using your Wi-Fi connection to the internet.
Set the clock manually

Tap Settings on the touch screen, and then tap Date & Time.
On the right side of the screen, tap OFF to disable the automatic function.
You can now manually set the time zone, date, and time.


Contact Samsung Support


